You know that moment when you spend 45 minutes hunting one file? Maybe it’s a test you wrote last week. Or a note about setup that you swore you saved.
Good folder structure fixes that. It makes your code easier to find, easier to test, and easier to share. It also cuts stress, because you stop guessing where everything went.
This guide starts simple, then shows solid setups for Python, JavaScript, React, and Node.js. You’ll also see a few 2026 trends, like flatter layouts and small bits of automation. Let’s build a setup you can keep using from day one.
Core Rules for Building Beginner-Friendly Folders
A folder system is like kitchen layout. If spices live in one spot, cooking gets faster. If you scatter tools everywhere, you waste time looking.
These rules work for most beginner projects. They also scale without turning your repo into a maze.
- Keep depth to 3 folder levels
- Benefit: you can scan paths without squinting.
- Example:
src/components/ui/Button.jsxis fine, but avoidsrc/a/b/c/d/.
- Group folders by purpose, not by preference
- Benefit: your brain learns the pattern quickly.
- Example: keep code in
src/, tests intests/, notes inREADME.mdordocs/.
- Use short, clear names
- Benefit: beginners can predict what a folder holds.
- Example: use
utils/, notmiscHelpersVersion2/.
- Flatten nested folders when possible
- Benefit: fewer “where is it?” moments.
- Example: prefer
src/utils/oversrc/helpers/utils/.
- Put assets and data where they belong
- Benefit: you keep “code” separate from “stuff.”
- Example: use
assets/for images anddata/for sample files.
- Use predictable relative paths
- Benefit: the project runs the same on your laptop and a teammate’s.
- Example: avoid hard-coded paths like
/Users/you/....
- Use consistent naming for files
- Benefit: you can sort and search by date.
- Example:
2026-03-report.txtbeatsfinal_final_report(1).txt.
Most importantly, pick one structure per project and stick to it. If you constantly reorganize, you’ll keep breaking your own muscle memory. And a friend should be able to open your repo and find things fast.
Start with These Must-Have Folders in Every Project
If you only create three things, make them these. They cover the basics for most beginner workflows.
src/holds your code.tests/holds your checks (unit tests, integration tests, etc.).README.mdexplains setup and how to run the project.
Optionally, add:
docs/for longer notes.data/for sample files.assets/for images, icons, or static files.
Here’s a clean starting point you can copy.
my-project/
├── README.md
├── src/
├── tests/
├── docs/
├── data/
└── assets/
Why does this help so much? Because you’re separating “where things live” from “what the thing is.” New projects feel calm when you already know where code goes, where tests live, and where setup notes belong.

Python Folder Setup That Scales as You Grow
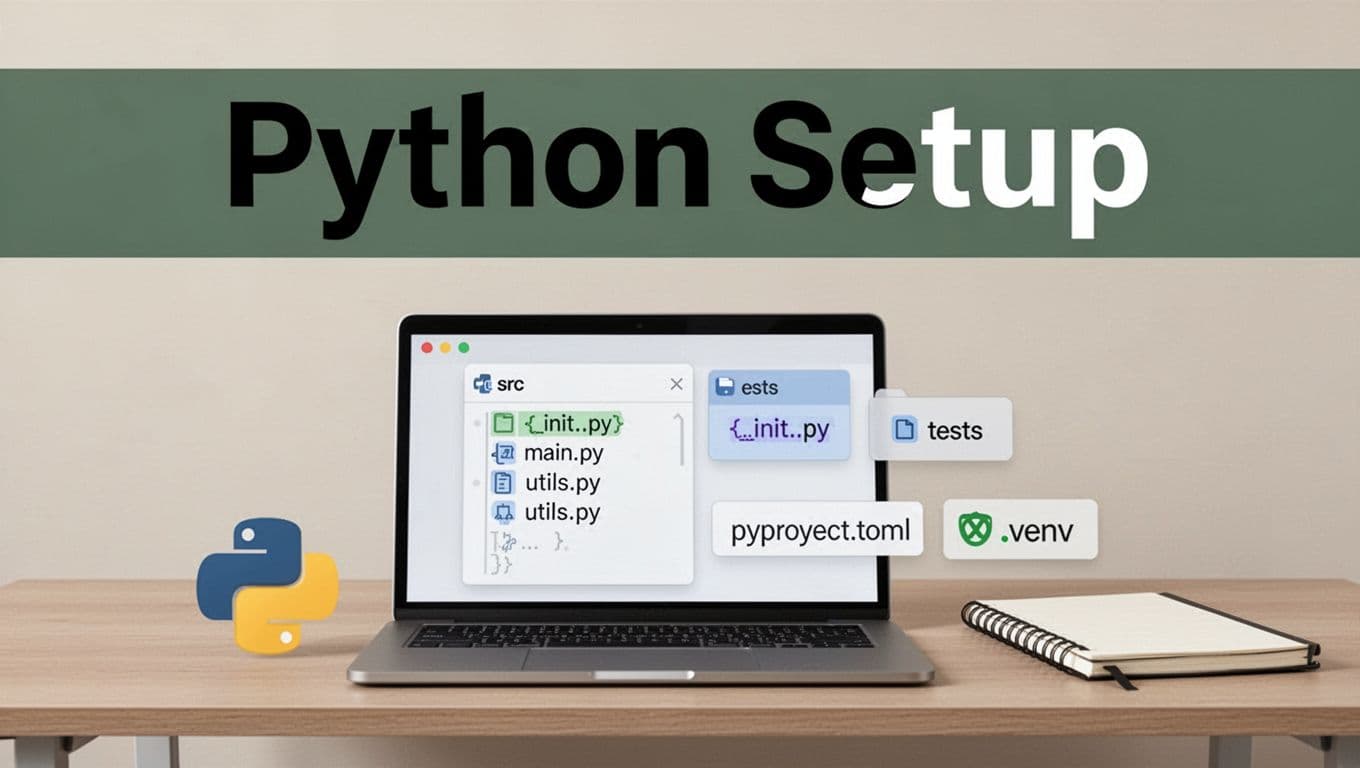
For Python in 2026, the most reliable choice for beginners is the src/ layout. It keeps your imports sane and avoids a lot of messy “why can’t I import this?” problems.
The goal is simple: keep your actual package code under src/, and keep setup files at the root.
Here’s a setup you can copy.
my-python-project/
├── pyproject.toml
├── README.md
├── LICENSE
├── .gitignore
├── .venv/
├── src/
│   └── my_project/
│       ├── __init__.py
│       ├── main.py
│       └── utils.py
└── tests/
    └── test_main.py
A few key points:
pyproject.tomlstores tools and dependencies.README.mdshould explain install and run steps.src/my_project/is the package folder.tests/mirrors what you test..venv/is your virtual environment.
You can also use a reference like Python project structure best practices when you want extra examples. Just remember, you’re not trying to copy someone else’s style forever. You’re building your own system.
Why this setup feels beginner-friendly
It keeps config and environment files away from your code. That separation helps when you share the repo. It also reduces import mix-ups when you run from different machines.
Also, root stays “project level,” while src/ stays “application level.” That mental split alone saves time.
Finally, keep your project files in the root only when they’re project-wide. If something belongs to code, put it under src/.
Here’s a quick checklist for day one:
- Create the folders.
- Add your package under
src/. - Add tests under
tests/. - Write install steps in
README.md.
Why Use a Virtual Environment Right Away
A virtual environment is a safe space for libraries. Without it, Python can mix dependencies across projects. Then you get weird errors that only happen sometimes.
With .venv/, each project can have its own package versions. That means fewer “works on my machine” problems.
Here’s how to set it up quickly.
- Create the environment
python -m venv .venv - Activate it
- macOS/Linux:
source .venv/bin/activate - Windows (PowerShell):
.venvScriptsActivate.ps1
- macOS/Linux:
- Install your tools
pip install -r requirements.txt(or install viapyproject.toml)
Also, make sure .venv/ stays out of Git. Put it in .gitignore. If it gets committed, it often causes headaches.
JavaScript, React, and Node.js Folders Made Simple
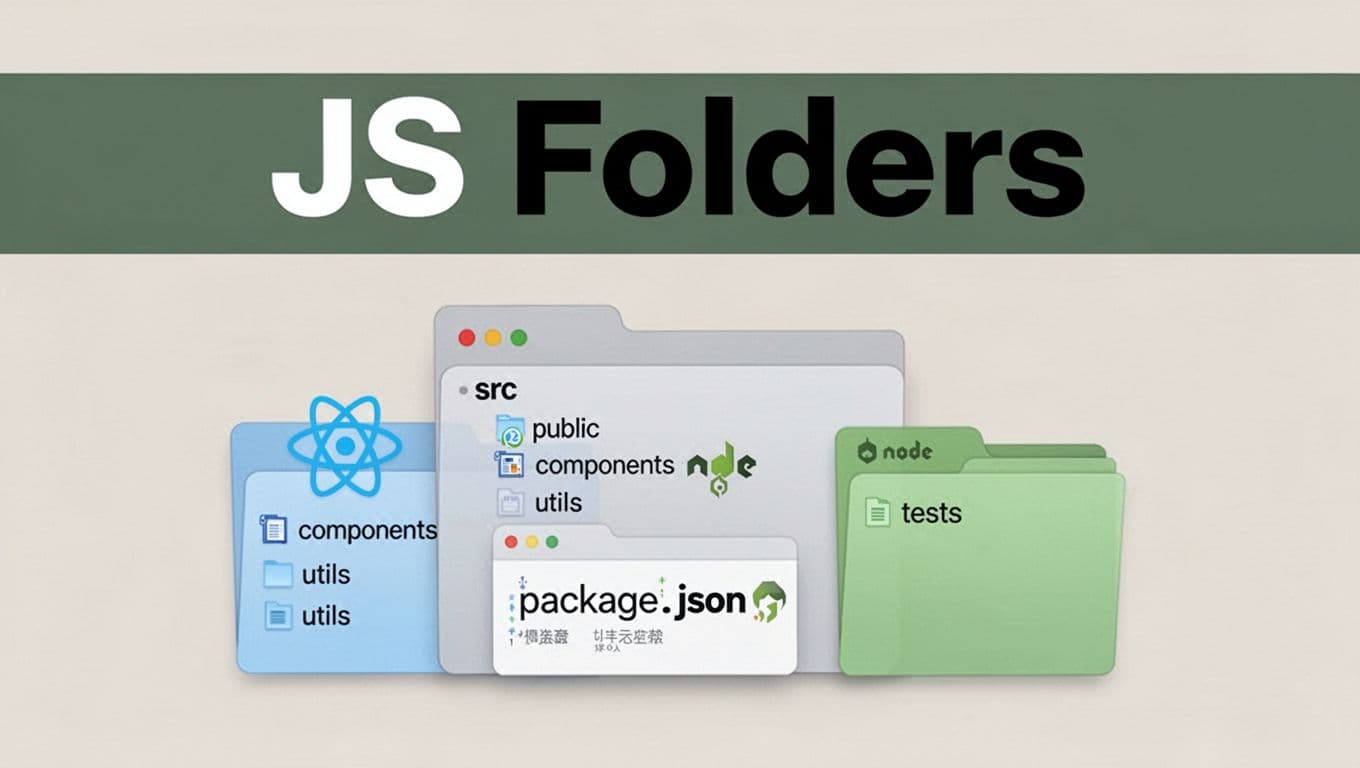
JavaScript folder rules depend on the kind of app. But the core idea stays the same: group by type, keep src/ clean, and store setup at the root.
Plain JavaScript (or small frontend) structure
For a simple web app, keep it flat and tidy.
my-js-project/
├── package.json
├── README.md
├── .gitignore
├── index.html
├── src/
│   ├── main.js
│   ├── utils.js
│   └── styles.css
└── public/
Then, use public/ for static files. Keep code in src/. That alone keeps beginners from scattering images, JS, and tests everywhere.
React structure (beginner-friendly, 2026-ish)
For React, start with the folders that match how you work:
public/for static filessrc/for app codecomponents/for reusable UItests/for checks
Here’s a practical tree.
my-react-app/
├── package.json
├── README.md
├── index.html
├── public/
└── src/
    ├── App.js
    ├── main.jsx
    ├── components/
    │   └── Button.jsx
    ├── utils/
    ├── pages/
    └── tests/
Many teams prefer feature-based folders over pages-only folders as apps grow. You can find examples in resources like React folder structure and clean architecture if you want more patterns. Still, don’t overthink it early. Use what you can maintain.
Also, use ESLint. It helps keep code rules consistent. Even if you work alone, it teaches good habits.
Node.js backend structure (API-friendly)
For Node.js, use the same src/ idea. Then add folders that match backend roles.
A common beginner setup looks like this:
src/index.js(orserver.js)src/routes/for endpointssrc/controllers/for request handlingsrc/models/for data access (or DB mapping)src/middleware/for auth and helperstests/for API tests
If you want architecture ideas beyond the beginner level, Node.js project architecture best practices is a solid reference.
Tweaks for Backend Node.js Projects
Backends grow fast. So your folder layout needs to reduce guesswork.
If you build APIs, it helps to keep request code separate from business logic. Then you can move code later without breaking everything.
Here’s a starter snippet that works well for beginners:
my-node-app/
├── package.json
├── README.md
├── .env
├── .gitignore
└── src/
    ├── index.js
    ├── routes/
    │   └── users.js
    ├── controllers/
    │   └── usersController.js
    ├── services/
    │   └── userService.js
    ├── models/
    │   └── userModel.js
    └── middleware/
        └── authMiddleware.js
└── tests/
    └── users.test.js
You don’t need every folder at once. Start with routes/ and controllers/, then add services/ when your route files get long.
A quick test: open your repo after two weeks. If you can find “where does the API logic live?” in under a minute, your structure is doing its job.
Fresh 2026 Trends to Supercharge Your Folders
In 2026, more templates and linters push toward simple, repeatable layouts. People also prefer setups that work across tools.
Here are trends that matter for beginners, not just advanced teams.
- src layout everywhere
- It keeps imports clean.
- It also makes sharing easier.
- Flat structures (max 3 levels)
- Less nesting means faster scanning.
- Beginners spend less time hunting.
- Small automation for folder creation
- Instead of clicking around, you generate the structure.
- You also avoid typos in folder names.
- Metadata and tags for search
- File names can act like quick labels.
- This helps when you forget what a file contains.
- Relative paths for portability
- Your project behaves the same on other computers.
- That means fewer setup surprises.
If you like seeing how other ecosystems think about structure, Go project structure 2026 best practices is a useful comparison. Different language, same goal: keep code grouped by what it does.

Quick Wins with Automation and Tags
Automation doesn’t have to be fancy. A tiny script can create a folder skeleton in seconds.
Here’s a simple macOS bash script example. It creates a beginner-ready structure for a new project.
#!/usr/bin/env bash
set -e

PROJECT_NAME="my-project"

mkdir -p "$PROJECT_NAME"/{src,tests,docs,data,assets}
touch "$PROJECT_NAME"/README.md
Run it, and you’ve got the core layout. Then you can focus on coding instead of setup.
Now add tags to file names so your future self can find things fast. For example:
2026-03-report.txtfor dated notes2026-03-bugfix-login.mdfor a change log entry2026-03-test-auth.pyfor a test related to auth
This works well because your editor and file search tools sort dates naturally.
Also, keep one rule for naming. Pick either kebab-case (login-tests) or snake_case (login_tests) and stick to it. Consistency helps your eyes learn patterns.
Conclusion
That beginner frustration, the file hunt, usually comes from one thing: unclear structure. When you use src/, tests/, and README.md as your baseline, everything gets easier to find.
From there, tailor the setup for Python, JavaScript, React, and Node.js. Use the src/ layout for code, keep root files for project setup, and stay flat as you grow.
Now do a quick check. If a friend opened your repo tomorrow, could they navigate it fast? Try one structure on your next project, then adjust only when you hit a real problem. What folder setup has helped you most so far?