Picture this, you open your laptop after a long trip, and your family photos or work files are gone. A hard drive crash, a bad update, or ransomware can wipe years in minutes. In 2026, data volume is projected to hit 221 zettabytes (up from 181 in 2025), so you have more to lose, and threats keep rising.
Safe and efficient digital file storage comes down to one idea: your files need to be organized, protected, and backed up in more than one place. You also need a few key security steps so a single mistake or attack doesn’t turn into a disaster.
Next, you’ll learn how to choose the right storage options, set up smart folders, and build backups you can trust, without wasting time.
Pick Local and Cloud Storage That Fits Your Needs
Choosing storage sounds simple until you realize this: your files need two things at the same time. They need fast access and protection when something goes wrong. The best setup usually mixes local storage with cloud storage, so you are not betting everything on one device or one login.
Think of it like keeping a spare key. You keep one at home for daily use. You store another away from home in case your first option fails.
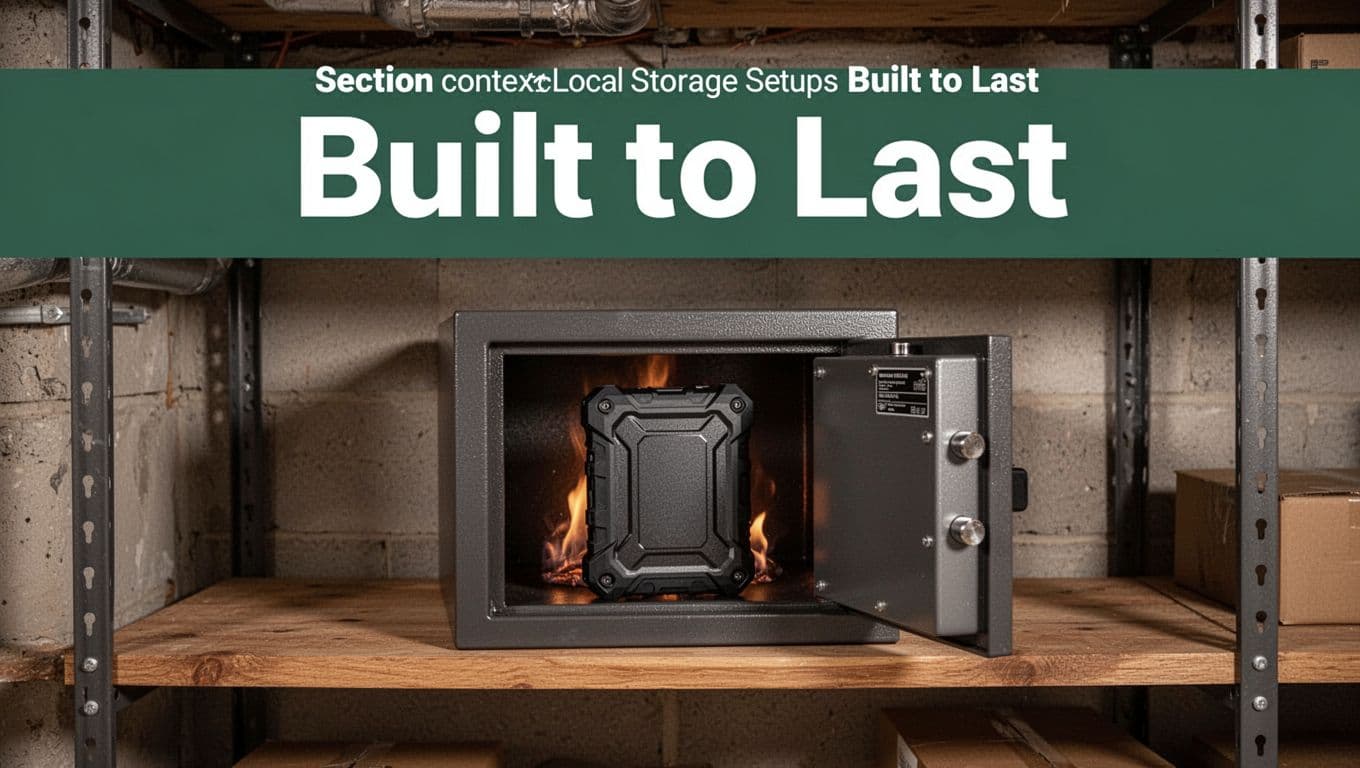
Local Storage Setups Built to Last
Local storage gives you control. It also helps when the internet is down or you want quick restores. For most people, the clean starting point looks like this: keep a primary copy on your computer or a network drive, then maintain a secondary copy on an external HDD stored in a safer place.
A practical, long-lasting local setup often includes:
- External drives for backup (HDD for bulk, SSD for speed): Use an external hard drive for large backups. SSDs work well for smaller sets or faster day-to-day transfers. In 2026, options like WD My Passport are popular for straightforward backup because they include password protection and simple use.
- NAS if you want a home “file hub”: A NAS can make access easier across multiple devices. However, it adds moving parts (network, settings, maintenance), so you still want a separate off-NAS backup copy.
Place your external drive somewhere cool, dry, and safe. Avoid heat (near heaters or sunny windows) and avoid damp (basements with moisture, laundry rooms). Also, don’t treat an old USB stick like “backup.” USB drives fail too often, and some drives do not handle abrupt unplugging well.
When you copy files, treat it like packing valuable items. Copying is not the same as finishing. Verify the copy, then store the drive.
A small example that many people can actually maintain: keep a fireproof box for your external drive. After a scheduled backup, you close it and move it to a drawer or safe shelf. If your home faces a risk like fire, you keep your backup with you at the time you need it most.
If you decide to buy a NAS, use credible review sources first. PCMag’s testing is one place to start when you want a quick shortlist of real devices, not marketing fluff. Read PCMag’s NAS device picks before you commit money.
Cloud Services That Deliver Security and Ease
Cloud storage wins on two fronts: access from anywhere and off-site protection. You also get automated backups, which means your “I’ll do it later” habit works in your favor.
In 2026, two services often fit different needs well: Google Drive for general file storage and sharing, and Evernote for saved documents, notes, and research.
Here is how the security picture typically looks:
- Google Drive security basics: Google encrypts data in transit and at rest. It supports two-factor authentication (2FA). However, it is not end-to-end encrypted, because Google can access data if needed. For a clear breakdown of how secure Google Drive is, see AEANET’s overview of Google Drive security.
- Evernote security basics: Evernote supports 2FA, and it can lock notes. Still, it is not end-to-end encrypted by default, so plan for normal cloud risks and use strong account security.
Before you pick, check these items so you avoid painful lock-in:
- Export options: You should be able to download your files in common formats. Google Drive offers Takeout for account exports, and Evernote supports note exports like ENEX.
- Two-factor enforcement: Turn on 2FA for your account immediately. Then, confirm you can recover access if you lose your phone.
- Encryption details: If your workflow involves sensitive data, ask one question. Is the service end-to-end encrypted for your content, or does the provider hold the keys?
Automation can also help. Google Drive works with tools like Zapier, so you can route files into folders based on triggers. Still, integrations can widen the path an attacker might try, so keep permissions tight. Only connect Zapier to apps you trust, and avoid pushing sensitive content into random third-party steps.
Cloud also has tradeoffs. You pay monthly, you depend on the internet to browse quickly, and you must manage account security like it matters (because it does). That is why mixing local plus cloud usually feels best. Local gives speed and control. Cloud gives off-site safety and convenient access.
Organize Files into a System You’ll Actually Use
The goal is simple: you want files that feel easy to find, not like a scavenger hunt. When your structure matches how you think, you stop saving “mystery files” in random places. You also cut duplicates because everything has a home.
Start with a small set of buckets, then keep the rules tight. If you can explain your folder system in one minute, you will actually use it.
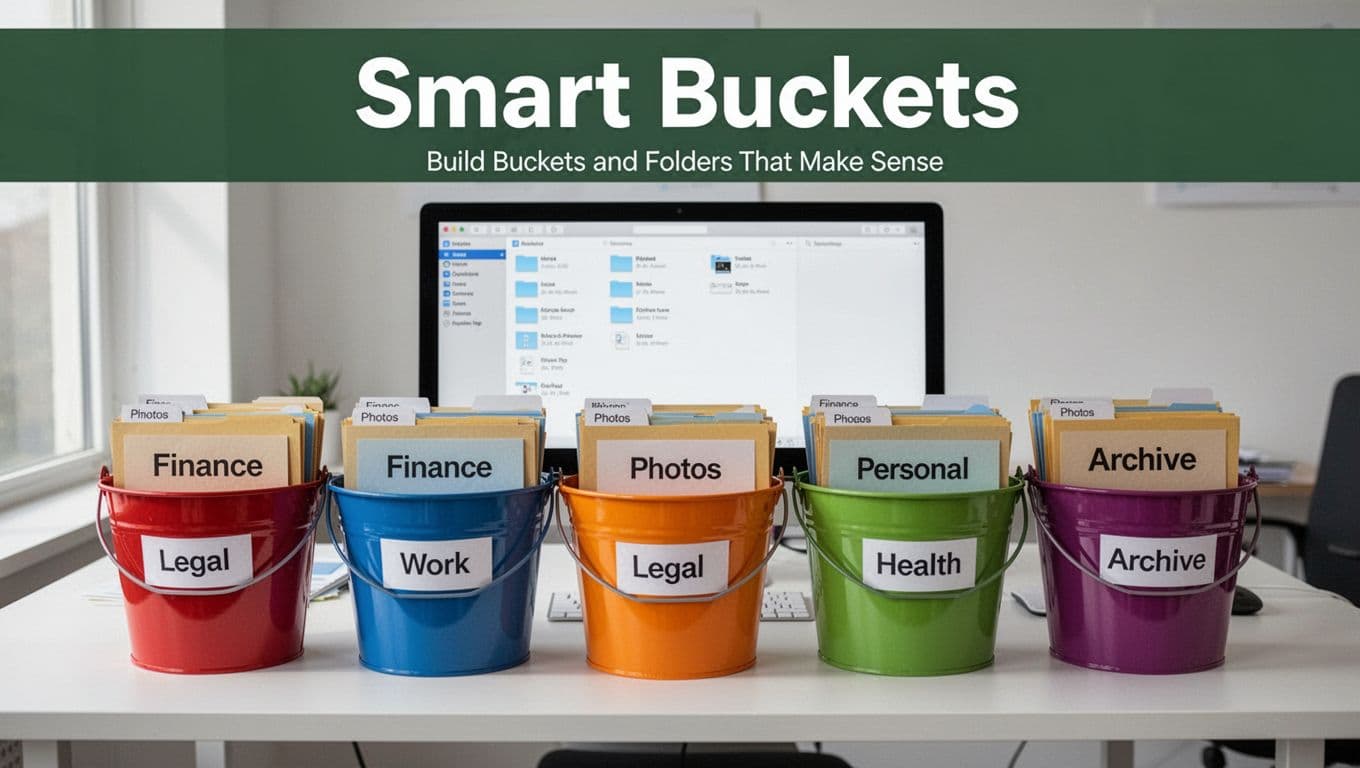
Build Buckets and Folders That Make Sense
Think of your storage like a pantry. If you dump everything on one shelf, you lose time every day. Instead, you build a few buckets you reach for often.
Use 6 to 10 main buckets that match your life and work. Here’s a solid default for most people:
- Finance (taxes, bank statements, budgeting, insurance)
- Photos (family, travel, events)
- Legal (contracts, agreements, IDs, home docs)
- Work (projects, clients, job materials)
- Health (medical visits, lab results, prescriptions)
- Personal (home life, family paperwork, hobbies)
- Archive (old years you rarely need)
- Education (courses, certifications, training)
- Home (repairs, warranties, manuals)
- Supplies/Other (stuff that does not fit yet)
Now decide where files go first, not where they go “eventually.” Your folder depth should stay shallow. In other words, avoid making a maze of nested subfolders.
Choose one “source of truth” folder for finals
Next, pick one main place where your finished files live. That is your source of truth. Everything else is working storage.
Examples of source of truth options:
- A single folder in your cloud drive (good for access anywhere)
- One folder in your note or document app (good for scans and PDFs)
- A single folder on your NAS (good for home setups)
A helpful rule: if a file is “done,” it should end up in the same bucket every time. That one decision alone cuts duplicates.
Name files with dates first (so sorting works)
Great folder systems fail when file names are vague. Use a consistent pattern so you can sort and search quickly.
A dependable naming format looks like:
YYYY-MM-DD_Description_OptionalName.pdf
Examples:
2026-03-01_TaxReturn_2025.pdf2026-02-10_Lease_Addendum_Smith.pdf2026-01-18_LabResults_CBC.pdf
Also, keep the file types visible. invoice should stay an invoice, not a random “scan_7” file.
If you want a reference for practical naming and grouping, see University of Minnesota’s guidance on file naming & folder organization.
Finally, keep your system “talkable.” When you save a new file, you should be able to say, “It goes in Legal, then Legal_Contracts, then the right year.” If you can’t, simplify.
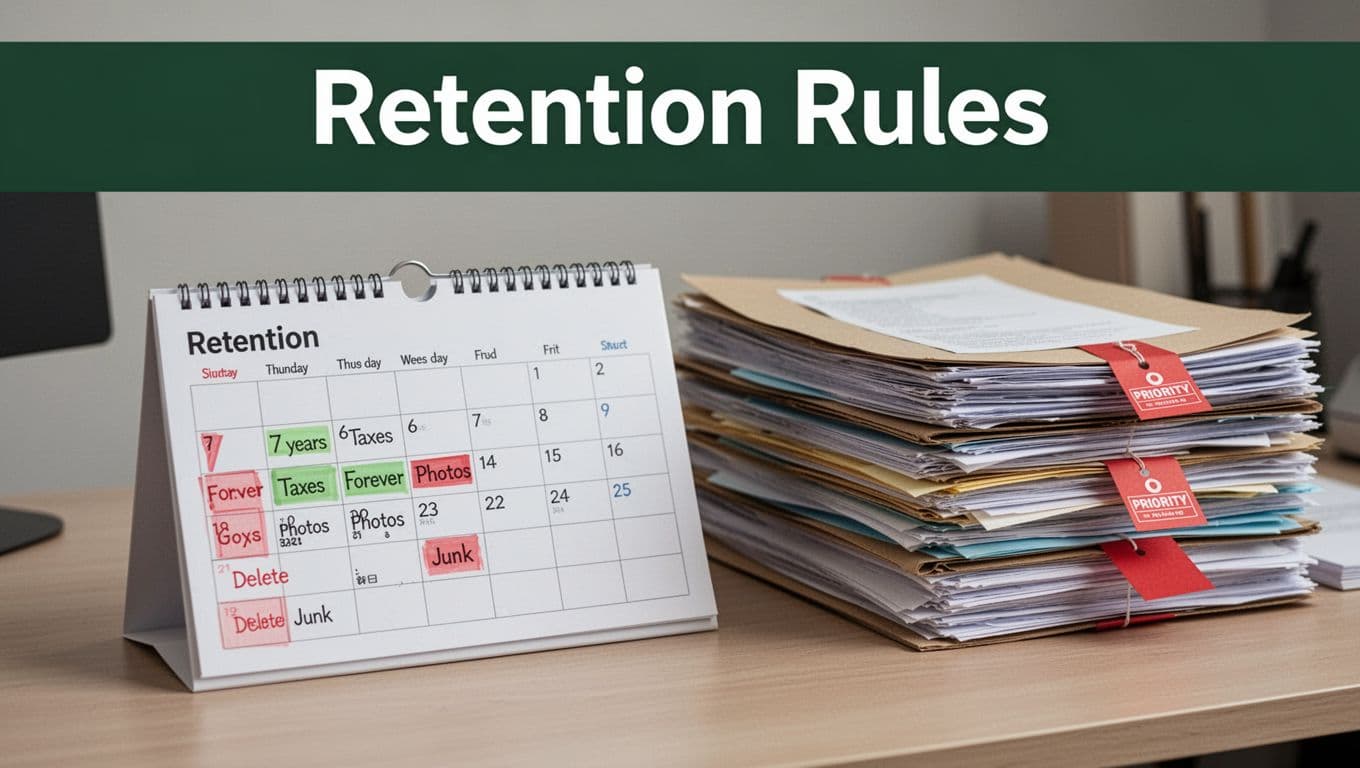
Decide What Stays and What Goes with Retention Rules
A good system tells you what to keep, not just where to store it. Otherwise, folders fill up until searching becomes painful again. Retention rules act like a filter, so old files stop taking up space and attention.
Use simple rules you can remember. Then, adjust for higher-risk cases. Most people do fine with a two-layer approach:
- Keep key categories for set time periods.
- Always delete clear junk right away.
Start with everyday retention rules
Here’s a practical baseline that matches common needs. Use it as your default plan, then refine.
- Photos and personal memories: keep forever (or at least long-term).
- Junk and duplicates: delete as you find them.
- Taxes: keep most records for 3 years after you file (or pay, whichever is later).
- Taxes in special cases: keep longer when facts change.
- 7 years for certain situations like bad debt or worthless securities.
- As long as you own it + 3 years after sale for property records that support cost basis and sales.
These periods reflect common IRS recordkeeping windows, including how audits can reach back over time.
For high-risk files, treat retention like a safety rule, not a preference. High-risk includes things like:
- Tax returns and tax support docs (receipts, statements, W-2s, 1099s)
- Legal agreements (contracts, leases, custody or estate papers)
- Identity and proof documents (IDs, passports, key registrations)
- Medical records (especially anything tied to ongoing care)
- Insurance claims and policy history
If a file helps you prove what happened, keep it longer. If it helps you remember something nice, keep it forever.
Use ISO 15489 ideas without turning it into bureaucracy
You can borrow the spirit of ISO 15489, which focuses on making records trustworthy and usable over time. That means each category should have:
- a clear purpose,
- a set retention time,
- and a plan for what happens at the end (delete or archive).
You do not need an organization-wide policy. Just adopt the mindset: records are not just files, they are evidence you can retrieve later.
If you want the standard’s official scope, see Records management – ISO 15489-1:2016.
Do retention as a quick monthly reset
Retention works best when you do it in small cycles. Try this simple cadence:
- Pick one day per month to review the “new” area.
- Move finished files into your source of truth.
- Delete duplicates and obvious junk immediately.
- For tax and legal, confirm the date and keep the right support docs.
- For everything else, apply the default retention bucket.
When you reduce the number of decisions, you keep the system alive. Your folders stay small, and your search results stay clean.
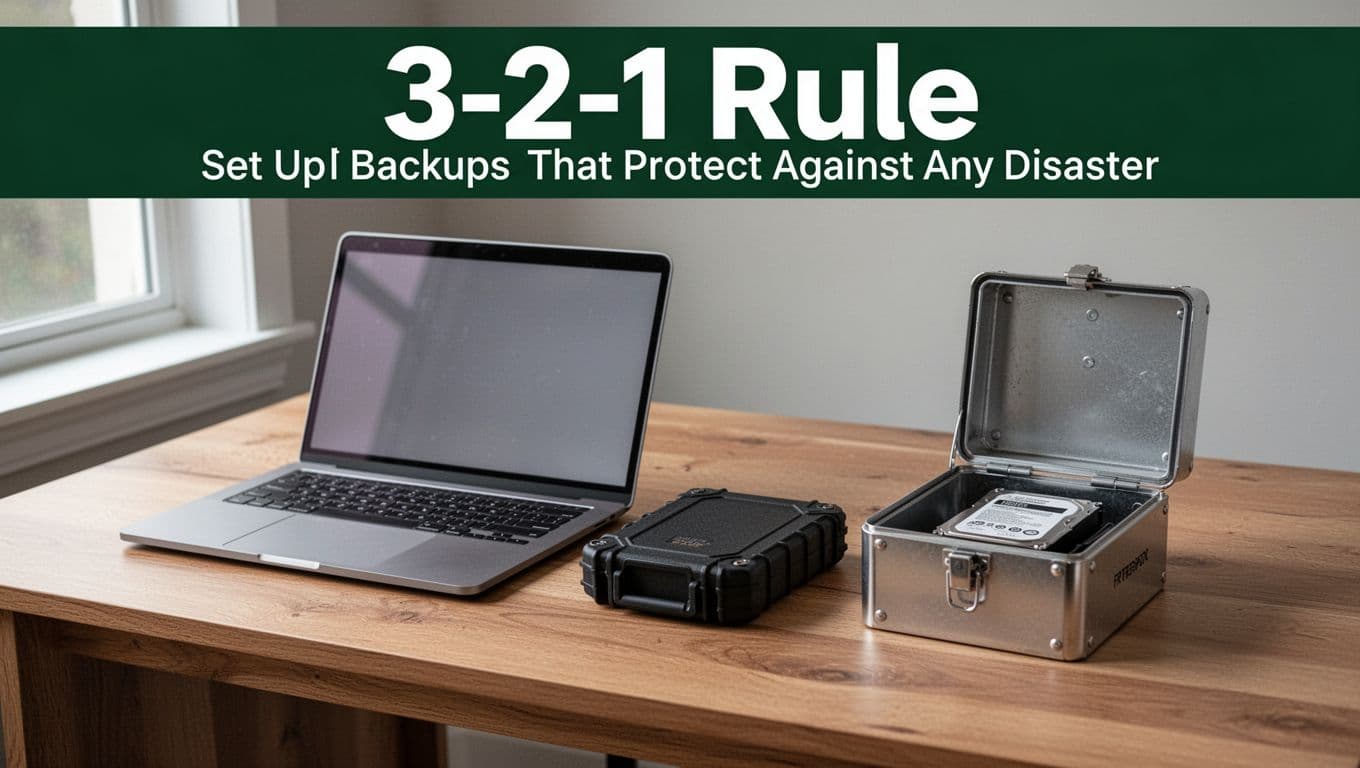
Set Up Backups That Protect Against Any Disaster
Backups protect you from the disasters you never plan for. Think hardware failures, ransomware, stolen devices, and even “oops” deletes. Most people miss one key detail, they back up in only one place. Then one event wipes everything.
You want a backup system that keeps working even when the worst happens. Use the 3-2-1 rule as your base. Then add two upgrades: fixity checks (so backups stay intact) and regular exports (so your files remain readable).
Build the 3-2-1 system (then make it harder for ransomware to win)
Start with a simple promise: 3 copies, 2 media types, 1 off-site. That’s the backbone that protects against nearly everything.
- 3 copies: your working files plus two backup copies
- 2 media types: for example, internal storage plus external storage, or local plus cloud
- 1 off-site: at a different physical location (or a cloud account you do not keep logged into)
Here is a practical example you can copy:
- Copy 1 (primary): your computer or NAS
- Copy 2 (local backup): an external drive you plug in for backup
- Copy 3 (off-site backup): cloud storage, or a drive stored elsewhere
If you want extra protection, use 3-2-1-1-0. That adds an immutable backup copy (a ransomware-proof option) plus frequent restore testing. For a clear view of modern variations, see Acronis’s guide to the 3-2-1 strategy.
Now, add one more reality check. Ransomware often targets backup locations too. So, your backup drive should not stay connected all the time. Also, avoid using the same account for everything if your setup allows separate logins for backup tools.
If your backups sit in the same room and depend on one device, you do not have real protection.
Add fixity checks (checksums) so “backup done” actually means “backup correct”
Backups can fail quietly. A drive can corrupt a file while copying. Bad sectors can creep in. Network glitches can truncate data. The result looks normal, but the data is wrong.
That’s why fixity checks matter. A checksum acts like a fingerprint. You generate it when you create the backup, then you verify later.
A simple workflow works for most home users:
- Create checksums for each backup set (or for each folder)
- Store the checksum list with the backup
- Verify checksums after you copy, and again during monthly checks
For checksum tools, you have solid options. Jacksum is a free cross-platform utility if you want a dependable command-line approach, see Jacksum checksum utility. For Windows users who prefer a point-and-click path, you can use checksum for Windows hashing tools.
Even if you keep it simple, follow one rule: verify before you delete anything. Otherwise, you’re trusting the copy process blindly.
Here’s what “production-ready” looks like for a monthly restore test:
- Pick one folder (like Photos or Legal)
- Restore it to a test location
- Verify checksums on restored files
- Confirm file open speed and basic file integrity
That process finds problems early, while you still have time to fix them.
Make new files safer with malware scans, then export your “notes” monthly
Backups fail when the bad stuff goes in first. So you want a quick defense step right after new files land on your main storage.
Start with a simple rule: scan new files before you back up. Many security tools can scan on access or on download. If your workflow is browser-based, also scan email attachments and downloaded documents before you move them into your source-of-truth folders.
Then, export key note databases regularly. Notes apps often hold important research, receipts, and personal records. If you rely on one app and never export, you can trap yourself in a format you cannot open later.
Use this approach:
- Pick a monthly export day
- Export notes to .enex if you use Evernote-compatible workflows
- Also export to HTML for broad readability (even years later)
- Store exports inside your backup folder, under an “Exports” bucket
If you want a starting point for the backup rule mindset, TechTarget’s 3-2-1-1-0 explanation can help you understand why testing and immutability matter. Then apply it to your own file flow, especially exports.
Finally, treat exports like official copies, not “draft backups.” Name them with dates, and verify checksums the same way you do for other files.
Store backup media like you store valuables (fireproof, off-site, and locked down)
Where you store your backup files matters as much as what you store. If your backup sits next to your laptop, a fire or theft wipes both.
Use a physical plan that matches your home risks:
- Fireproof storage for the off-site drive: a firebox or fireproof safe keeps drive contents safer in a worst-case event
- Safe deposit box: if you want off-site physical separation, it’s a strong option for many people
- Another location for a copy: family member, office, or a trusted storage space (only if it stays protected and accessible)
Here is a simple setup you can maintain:
- After each backup, unplug the external drive
- Put it into a fireproof box at home
- For your off-site copy, rotate drives and place one in safe storage elsewhere
If you have the budget, consider one extra guardrail. Keep a second external drive so you rotate copies. That way, one drive can be offsite while the other stays ready at home.
Your backups should survive not only “drive failure,” but also the day your house looks like a disaster movie.
A no-data-loss backup checklist you can run every month
Use this monthly routine as your backbone. It’s short enough to repeat, but detailed enough to catch failures.
Monthly backup run
- Connect the external drive (or start your backup tool)
- Run your backup job with versioning enabled if available
- Do a malware scan for any newly added files (or confirm your tool runs scheduled scans)
- Export notes for the month (at least once per month)
- Generate checksums for the backup set
- Verify checksums after the copy finishes
Monthly restore test
- Restore one small folder (like a few months of receipts)
- Check that files open normally
- Verify checksums on the restored files
- Confirm you can find the restored folder quickly
Storage checks
- Make sure the off-site copy is truly off-site
- Ensure the fireproof box is closed and the drive is inside
- Confirm you did not leave a backup drive plugged in all the time
If you stick to this flow, you reduce the two big backup failures: you never find out until it’s too late, and you assume a copy is correct just because it exists.
Layer on Security to Keep Your Files Hacker-Proof
If you store files safely, you already reduce the risk. Still, “safe” often means “easy to recover” after something goes wrong. Hacker-proof storage means you also reduce the chance that attackers can read, steal, or lock your files in the first place.
Think of it like home security. You can have good doors, but you still want strong locks, good lighting, and cameras. Security layers work the same way: each one covers a different failure.
Encrypt files and drives, so stolen data stays unreadable
Encryption turns readable data into scrambled data. Even if someone steals your laptop, an external drive, or a cloud account session, encryption makes the files much harder to use.
Start with the simplest wins, based on where the files live:
- On your computer: Use built-in full-disk encryption (Windows device encryption or BitLocker, and FileVault on many Macs).
- On external drives: Enable drive encryption inside the drive’s setup tools, or use reputable encryption software.
- In cloud storage: Use strong account security first, then add extra protection if your workflow needs it.
If you want guidance on well-regarded encryption software options, see PCMag’s tested encryption software picks. For a broader, practical encryption overview, PrivacyTools’ secure file encryption guide is also a helpful reference.
Now, keep your encryption choices consistent. For example, if you encrypt your external backup, you should also have a reliable way to unlock it later. Otherwise, you’re trading “hacker risk” for “restore risk.”
A few rules I follow because they save real stress:
- Use strong encryption defaults, not quick “basic” modes.
- Store encryption keys safely (password manager, written recovery steps, and a secure backup method).
- Treat encrypted backups like official records, not casual downloads.
One more thing: encryption does not stop ransomware from locking your files. It helps mainly with theft and data access. That’s why the next layers matter too.
Use strong unique passwords and lock down access with 2FA
Most attacks start with stolen logins. If attackers get your password, they can often browse your cloud folders, read stored files, and even reset backups.
So yes, password strength matters. Uniqueness matters more.
Here’s a simple model:
- Each account gets a unique password
- You keep it in a password manager
- You enable 2FA everywhere
If you want a quick way to compare password managers, use PCMag’s best password managers for 2026. A good manager helps you avoid reuse, and it reduces the chance you’ll lose access.
When you turn on 2FA, avoid weak options. Prefer authenticator apps or security keys when you can. Also, do not skip the recovery step. If you lose your phone and recovery options, you might lock yourself out of your own storage.
Finally, reduce who can access what. Many storage apps let you share via links. Those links can spread fast. Keep sharing scoped:
- Share specific files only when needed
- Expire links when the service allows it
- Remove access after a project ends
If you run a home office, treat shared family devices like shared offices. Separate accounts, separate logins, and separate permissions. It’s a small habit that blocks a lot of accidental exposure.
A strong password blocks the front door. 2FA adds the second lock. Together, they cut down most “walk-in” attacks.
Scan on ingest, keep formats current, and add malware-safe habits
Encryption and passwords stop many attacks. Still, malware can enter through email attachments, downloads, or hacked websites. After that, it might modify files, hide in notes, or install tools to steal data later.
Start with a habit that stays simple: scan new files before you back them up.
In practice, that means:
- Scan downloads right after they finish.
- Scan email attachments before you open them.
- Scan external drive content when you first plug it in.
This matters because ransomware often wins by changing files before your backup job runs. When you scan on ingest, you reduce the chance you back up the infection too.
Next, pay attention to file formats. Formats decay. Apps change. A file that opens today might fail to open later. That’s not just an annoyance, it can break your ability to prove, restore, or reuse your data.
A lightweight format plan looks like this:
- Keep “final” files in common formats (PDF for documents, JPEG/PNG for images when possible, and CSV for spreadsheets when you need long-term readability).
- Track any special formats you rely on (for example, raw camera files, proprietary note exports, or app-specific databases).
- Migrate older formats on a schedule, not only when something breaks.
Notes apps are a good example. If you keep critical records in a single app, export a copy regularly in a portable form. Then store those exports inside your backup folders. The goal is simple: you want a format you can open years later, even if the original app goes away.
Finally, make sure your system updates happen. Update your OS, browser, and storage apps. Also update your security tools. Malware adapts, so your defenses must too.
Secure delete and sanitize storage safely (not just “trash”)
Deleting a file is not the same as removing it. Often, a “deleted” file still exists on disk until overwritten. So if you sell a drive, recycle a device, or pass it to someone else, you need real sanitization.
Use a secure deletion method based on the storage type:
- SSDs behave differently than HDDs.
- Modern drives may use wear leveling, which means simple overwrite steps can be unreliable.
- Physical destruction is an option when you need the highest certainty.
For a reputable baseline, follow the NIST guidance on media sanitization: NIST’s Guidelines for Media Sanitization. Also consider the practical framing in TechTarget’s NIST media sanitization 101.
When should you secure delete?
- Before you give away or sell a computer or drive
- When you remove old backups you no longer need
- When you move from one encryption setup to another and want clean handoff
Here’s a practical habit that keeps you safe without drama:
- Keep a “retire” checklist for hardware (backup first, verify restore once, then sanitize).
- Log which drives you sanitized and when.
- If you use encryption, remember that “crypto erase” may help on supported devices, but verify your method matches the drive type.
Keep physical backups protected with fireproof storage and off-site separation
Digital security still needs physical security. If someone grabs your external drive, or fire destroys it, encryption won’t help much unless you also have protected copies elsewhere.
So, treat backup media like valuables:
- Store an off-site backup somewhere separate from your home.
- Use fireproof storage for at-home drives.
- Unplug drives after backups, so ransomware cannot reach them easily.
You can use a safe deposit box for off-site separation, or store a drive with a trusted location. Either way, make sure the drive stays protected from heat, moisture, and casual access.
If your backup routine already follows a 3-2-1 pattern, this physical step completes the picture. You get protection from drive failure, plus protection from theft and home accidents.
In the end, “hacker-proof” means you assume attacks will happen. Then you build your setup so the attacker hits locked doors, unreadable files, and backups that still restore cleanly.
Sidestep These File Storage Disasters Before They Happen
Most data loss stories start the same way. Everything seems fine, until you need the files. Then you discover the backups never ran, or the copy is corrupted, or ransomware locked the one place you relied on.
In 2026, attacks and human error still drive most losses. In the US, breaches often come down to stolen logins, phishing, and missteps that expose or delete data. So it helps to plan for the failure moments, not the good days.
Here are the most common “silent disasters” and how to fix them before they ruin your month.
The biggest mistake: you never truly back up
It’s easy to assume you’re backed up because files exist on a drive. However, storage does not equal backups. A hard drive crash, a corrupted sync, or a bad edit can still wipe your “only copy.”
Why it hurts:
- You lose everything at once when the single source fails.
- You also lose time, because you must rebuild from scratch.
- Worse, ransomware often hits the same synced locations you rely on.
Fix it with your baseline:
- Build the 3-2-1 rule (primary plus two backup copies, including one off-site).
- Keep backups on different media types, not just “another folder.”
- Add fixity checks (checksums) so “backup finished” actually means “backup correct.”
If your plan feels too simple to trust, that’s normal. The goal is to make it testable, not hopeful.
Backups aren’t insurance until you verify restores.
The “one basket” trap: all copies live in the same place
Many people do backups, but they all sit together. Maybe your laptop, your external drive, and your cloud folder all depend on one setup. Or you keep every copy in the same room.
Why it hurts:
- A fire, theft, surge, or water issue can wipe multiple copies.
- Ransomware can encrypt both your main storage and your backup if they stay connected.
- A sync error can corrupt the same files across locations.
Fix it by separating risk:
- Keep one backup off-site (a cloud account you do not leave logged into, or a drive stored elsewhere).
- Unplug external drives after backup runs.
- Store backup media in fireproof storage, not next to your computer.
If you want a quick audit, ask one question: If this device disappears today, can you still restore your key folders? If the answer is no, your baskets are still too close.
The “skipped checks” problem: you never catch a broken backup
Even when backups run, they can fail quietly. A drive can copy bad data, a restore can miss files, or an interrupted job can leave you with an incomplete set.
Why it hurts:
- Corrupt backups look normal.
- You only notice the failure when you try to restore, under stress.
- Then you waste days figuring out what’s missing.
Fix it with a simple, repeatable monthly routine:
- Run your backup on schedule.
- Generate checksums for your backup set.
- Verify checksums after the copy completes.
- Restore one small folder to a test location.
- Confirm files open and the checksum verification still passes.
Also, you can learn from common storage guidance that warns about silent corruption risks over time, like storage mistakes that silently corrupt data. Use it as a reminder to treat backup verification as part of storage, not extra work.
The bad storage spots: heat, moisture, and “always plugged in”
Your drives face physical risks. Heat cooks electronics, moisture rusts connectors, and careless placement increases the odds of accidental damage.
Why it hurts:
- Drives degrade faster in hot areas like sun-facing rooms.
- Basement humidity can damage ports and internal boards.
- Keeping external drives plugged in makes ransomware easier to spread.
Fix it with location rules you can follow daily:
- Store backups in a cool, dry place.
- Avoid storing drives near vents, windows, heaters, or damp basements.
- After each backup, unplug the external drive and store it in fireproof storage.
If you travel often, rotate backups. Leaving the same drive in the same drawer for months still creates “one event wipes everything” risk.
The disorganization disaster: you can’t find the files you saved
A messy folder system doesn’t just cost time. It makes recovery harder, and it increases the chance you back up the wrong things.
Why it hurts:
- You create duplicates, then restore the wrong version.
- You stop trusting your folders.
- When trouble hits, you cannot tell what is current.
Fix it by building a system that stays small:
- Use buckets that match how you think (like Finance, Photos, Legal, Work).
- Keep folder depth shallow (no maze of subfolders).
- Choose one source of truth for finalized files.
- Use file names that start with dates (like
YYYY-MM-DD_Description.pdf), so sorting works fast.
Also, avoid vague “final_final” habits. If a file changes, save a new version with a clear name and date.
The forgotten exports problem: your notes and documents get trapped
Notes apps and document workflows can create file lock-in. You might save the truth inside a proprietary format, then later find you cannot export cleanly.
Why it hurts:
- Exports happen “someday,” then never do.
- App updates can change how old files open.
- If you rely on notes for important records, a format trap becomes a backup trap.
Fix it by adding an export step to your storage rhythm:
- Pick a monthly export day.
- Export note databases to a portable format (for example, Evernote-compatible exports and also a broader HTML backup).
- Store exports inside your backup folders under an Exports bucket.
- Treat exports like official copies, with the same checksum and restore checks.
That one change turns your notes from “stored in an app” into “stored for your future self.”
For another angle on mistakes tied to cloud settings and file access, see top cloud storage mistakes that cause data loss. Even small permission errors can create big recovery problems.
When you get these right, disasters get smaller
When you back up properly, you reduce the damage from almost everything. When you verify, you stop trusting luck. When you separate locations, you reduce “one event, many losses.”
Most importantly, your system becomes calm. You know where files go, you know backups exist, and you know you can restore.
Conclusion
Your safest, fastest storage setup comes down to one repeatable habit: keep a clean system plus backups that you can restore, not just files that you can view. When you mix local and cloud storage, organize into clear folders, and follow the 3-2-1 backup rule, you reduce the odds of a total loss.
From there, security does the rest. Encryption, strong passwords with 2FA, and malware checks on new files help stop theft and ransomware before they can spread. Just as important, monthly verify steps and a quick restore test confirm your backups are real.
Pick one next step today. Run a backup now (and generate checksums if you can), then do a small restore test so you know you can get your files back when it counts.
What part of your current setup feels weakest right now, backups, organization, or security? Share it in the comments so you can get focused help, and subscribe for more practical storage tips you can use right away. Peace of mind starts with one good copy.